Hey there, fellow squid kids! This guide is part 3 of my "Firing Range" guides.
I had to split them up due to Squidboards having a size limit to guides.. But enough of that!
If you've no idea what these guides are about, click here to check out Part 1!
This part of the guide is going to be all about Subs and Specials. It'll be pretty short in comparison to the other parts!
As with my other guides, we'll be using CTRL+F for easily finding what you need.
1. Damage Tiers [DMG1]
2. Sub Weapons [SWP1]
3. Special Weapon [SWP1]
2. Sub Weapons [SWP1]
Splat Bombs [SPB1]
Burst Bombs [BSB1]
Suction Bombs [SUC1]
Seeker [SKR1]
Ink Mine [IMN1]
Disruptor [DIS1]
Point Sensor [PSS1]
Sprinkler [SPR1]
Splash Wall [SWL1]
Squid Beakon [SBK1]
Burst Bombs [BSB1]
Suction Bombs [SUC1]
Seeker [SKR1]
Ink Mine [IMN1]
Disruptor [DIS1]
Point Sensor [PSS1]
Sprinkler [SPR1]
Splash Wall [SWL1]
Squid Beakon [SBK1]
Bubbler [BBL1]
Inkzooka [IZK1]
Bomb Rush [BMR1]
Killer Wail [KWL1]
Inkstrike [ISK1]
Echolocator [ECH1]
Kraken [KRA1]
4. Ending Notes [END1]
Inkzooka [IZK1]
Bomb Rush [BMR1]
Killer Wail [KWL1]
Inkstrike [ISK1]
Echolocator [ECH1]
Kraken [KRA1]
4. Ending Notes [END1]
Damage Tiers [DMG1]
To keep in uniform with Part 1 and 2, I've included a short Damage Tier list for the Sub weapons.
To keep in uniform with Part 1 and 2, I've included a short Damage Tier list for the Sub weapons.
Seeker (Distant)
20.0 - 5 shots to splat
Vs 1 Defense: 18.9
Vs 2 Defense: 18.1
Vs 3 Defense: 17.5
1 Attack +: 21.8
2 Attack +: 23.3
3 Attack +: 24.4
20.0 - 5 shots to splat
Vs 1 Defense: 18.9
Vs 2 Defense: 18.1
Vs 3 Defense: 17.5
1 Attack +: 21.8
2 Attack +: 23.3
3 Attack +: 24.4
Sprinkler
30.0 - 3 shots to splat.
Vs 1 Defense: 28.4
Vs 2 Defense: 27.2
Vs 3 Defense: 26.2
1 Attack +: 32.7
2 Attack +: 33.3
3 Attack +: 33.3
30.0 - 3 shots to splat.
Vs 1 Defense: 28.4
Vs 2 Defense: 27.2
Vs 3 Defense: 26.2
1 Attack +: 32.7
2 Attack +: 33.3
3 Attack +: 33.3
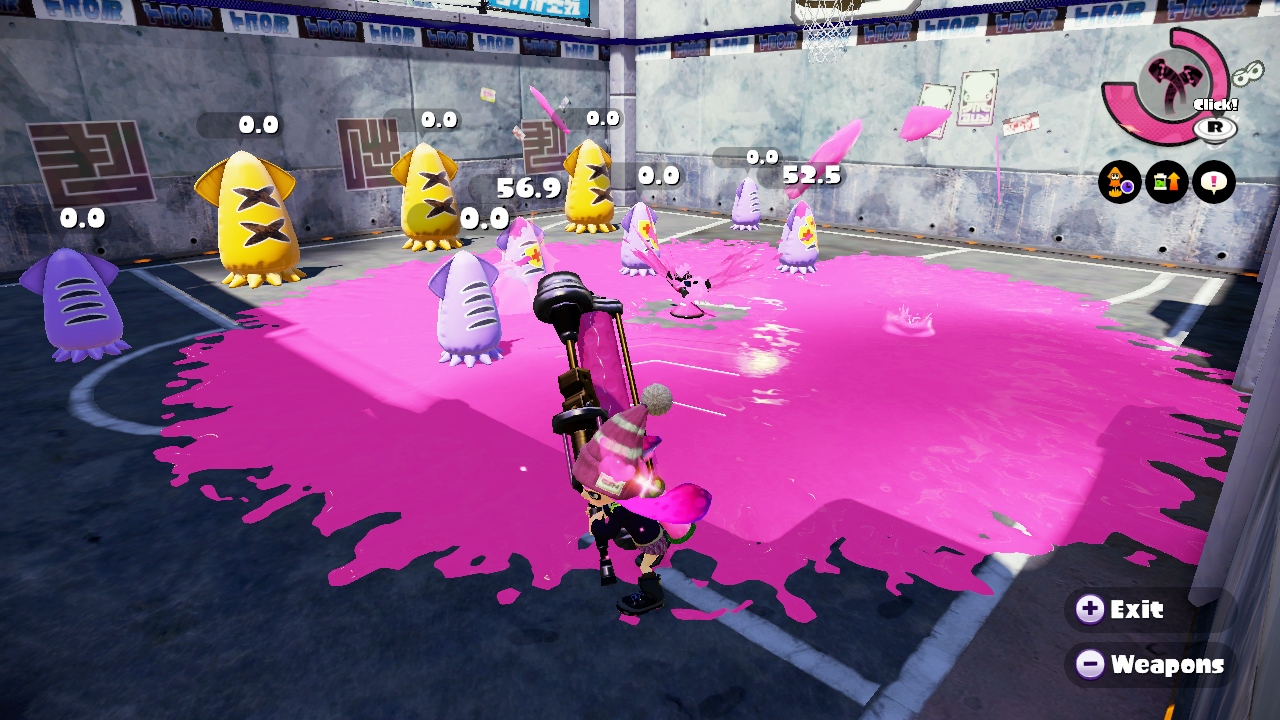
Burst Bomb
60.0
Vs 1 Defense: 56.2
Vs 2 Defense: 54.4
Vs 3 Defense: 52.5
1 Attack +: 65.4
2 Attack +: 69.9
3 Attack +: 73.4
Vs 1 Defense: 56.2
Vs 2 Defense: 54.4
Vs 3 Defense: 52.5
1 Attack +: 65.4
2 Attack +: 69.9
3 Attack +: 73.4
Seeker - Close Range (Non Impact)
80.0 - 2 shots to splat.
Vs 1 Defense: 75.9
Vs 2 Defense: 72.6
Vs 3 Defense: 70.0
1 Attack +: 87.2
2 Attack +: 93.2
3 Attack +: 97.9
80.0 - 2 shots to splat.
Vs 1 Defense: 75.9
Vs 2 Defense: 72.6
Vs 3 Defense: 70.0
1 Attack +: 87.2
2 Attack +: 93.2
3 Attack +: 97.9
Splat Bomb - Close range
Suction Bomb - Close range
Ink Mine - Close range
Seeker - Impact
180.0
Vs 1 Defense: 170.9
Vs 2 Defense: 163.4
Vs 3 Defense: 157.5
1 Attack +: 196.3
2 Attack +: 209.8
3 Attack +: 220.3
Suction Bomb - Close range
Ink Mine - Close range
Seeker - Impact
180.0
Vs 1 Defense: 170.9
Vs 2 Defense: 163.4
Vs 3 Defense: 157.5
1 Attack +: 196.3
2 Attack +: 209.8
3 Attack +: 220.3
Sub Weapons [SWP1]
All Sub Weapons outside of the Seeker, Squid Beakon and Splash Wall share the same range.
All Sub Weapons outside of the Seeker, Squid Beakon and Splash Wall share the same range.
+1 Range
Image to be added
+2 Range
Image to be added
+3 Range
Image to be added
180.0 - Close
30.0 - Distant
Unless specified by a post under Splat Radius, all offensive sub weapons deal the same amount of damage on impact, and lesser to the surrounding area:
Burst Bombs, the Sprinkler, Splash Wall, and the Seeker for distant targets don't use these damage numbers.
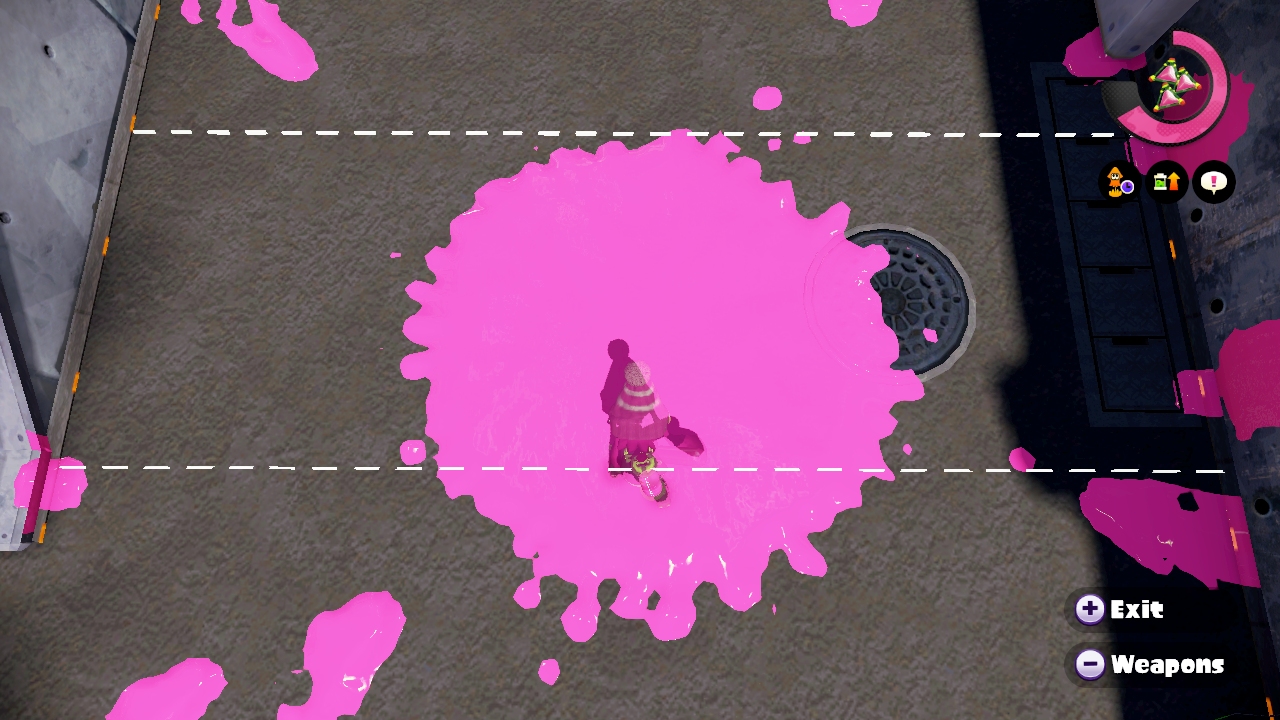
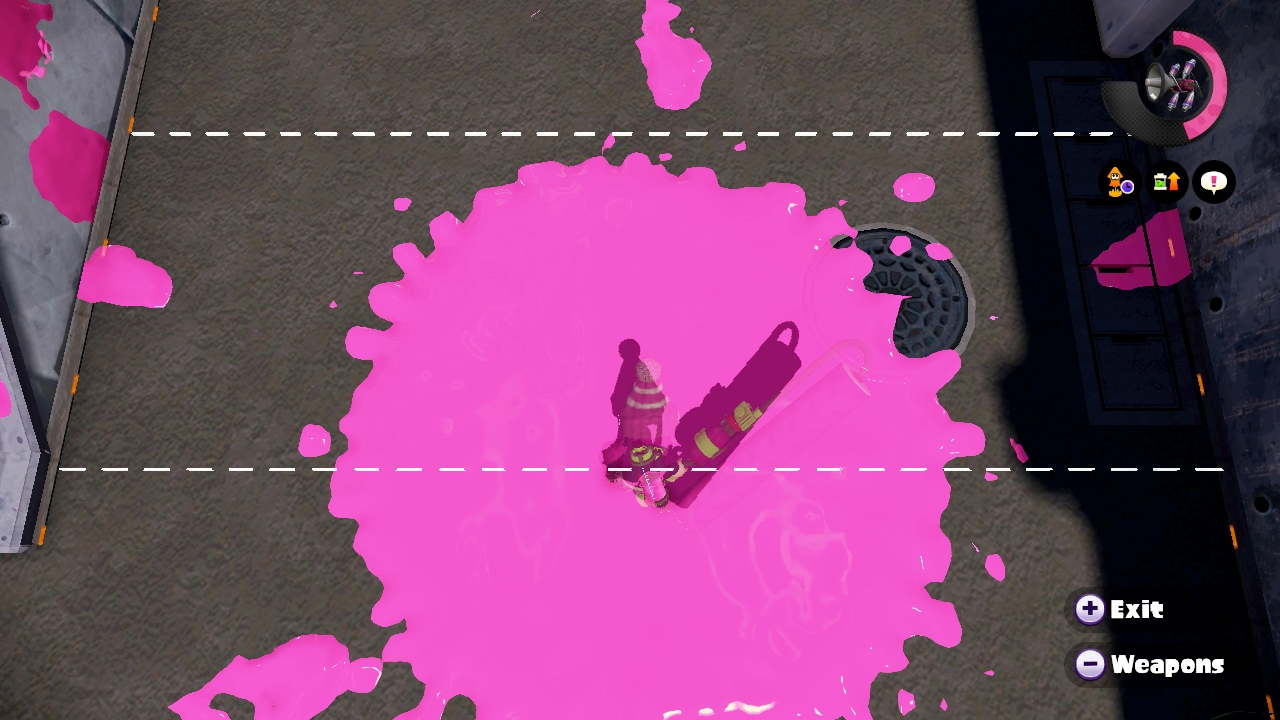
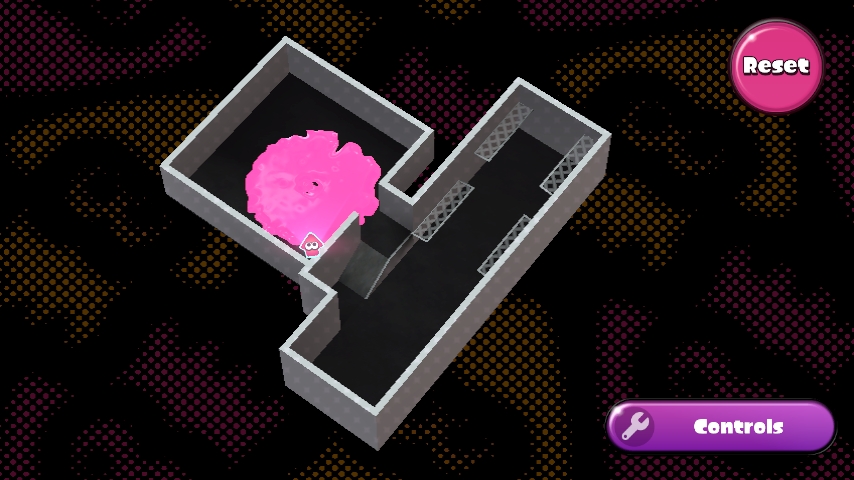
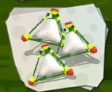
Splat Bombs [SPB1]

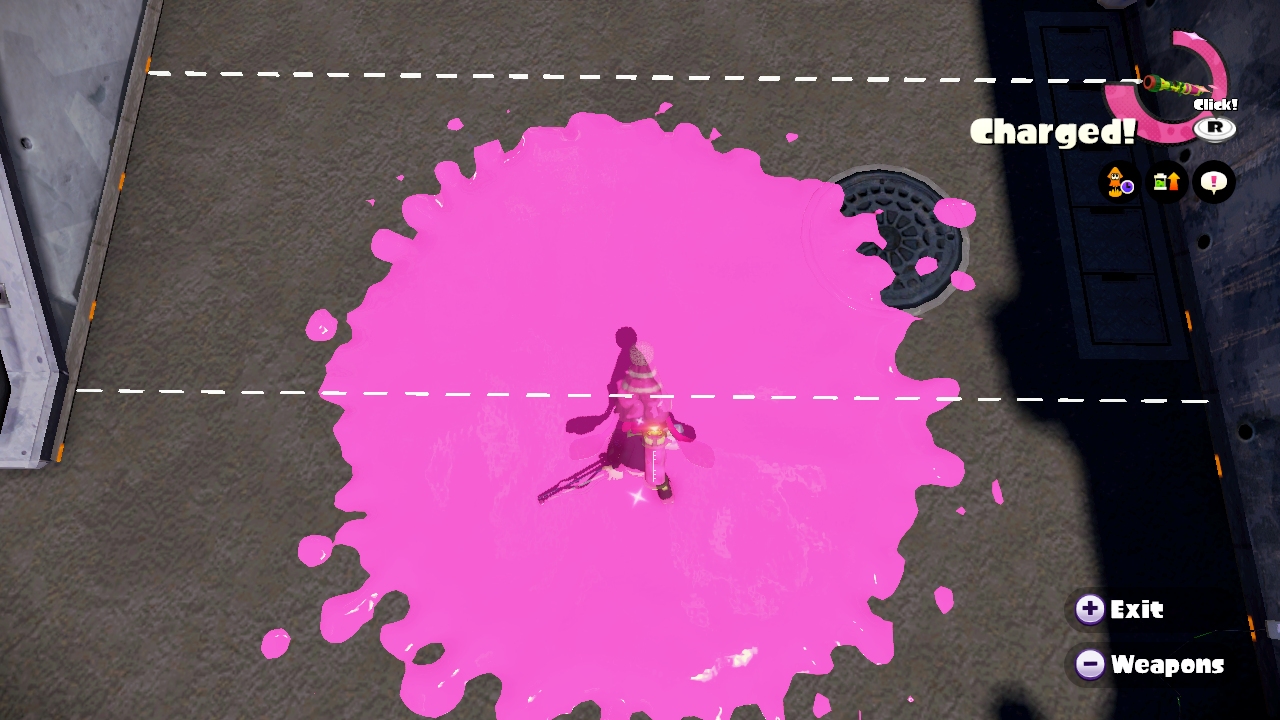
The basic bomb weapon, it's on the default Splattershot Jr and Splat Charger, an overall decent sub weapon. This pyramid-shaped bomb bounces along the ground. The timer doesn't start until the bomb first hits the ground, so for a delayed explosion throw it far. However if you need a quicker blast, throwing it at the floor and making it roll is the best option.
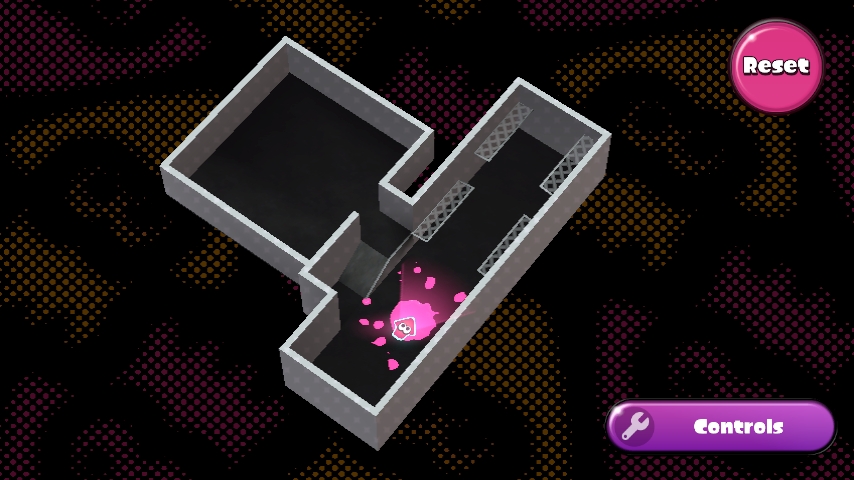
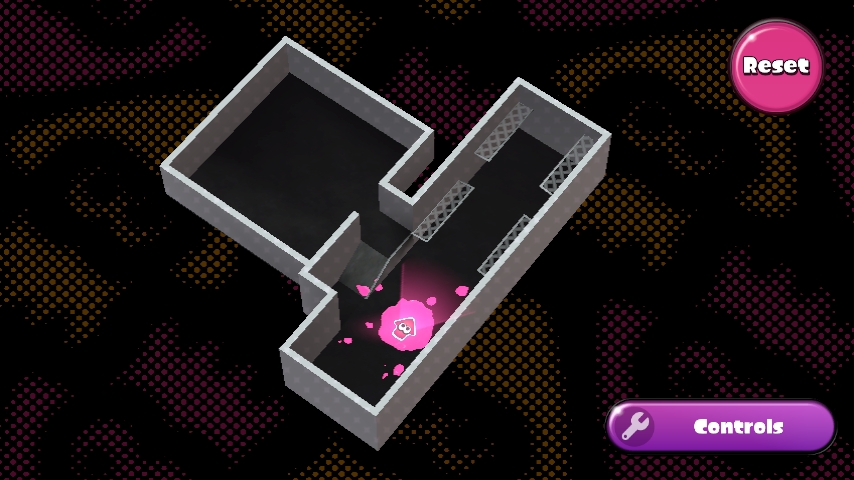
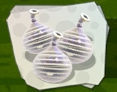
Burst Bombs [BSB1]


Suction Bomb [SUC1]

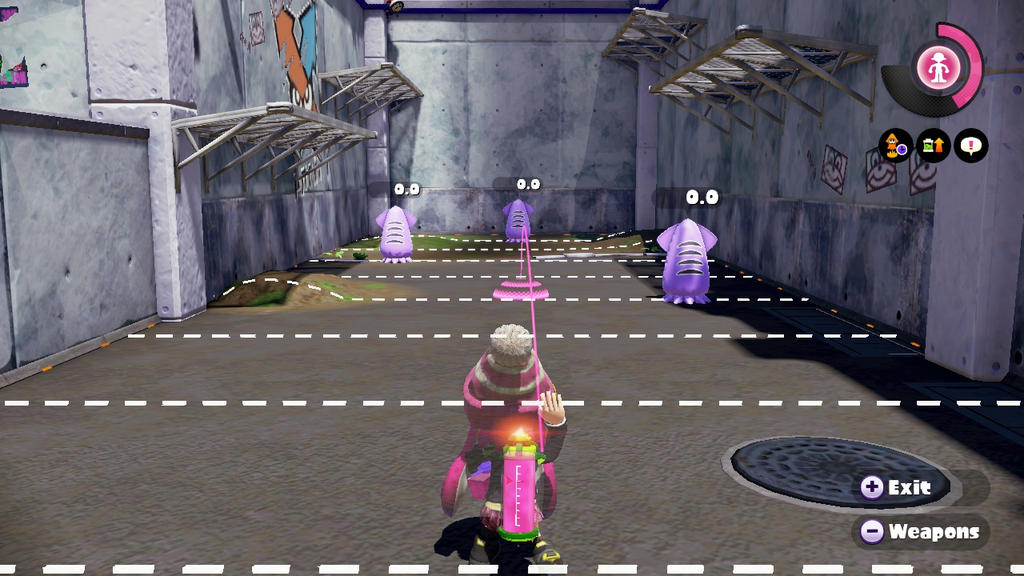
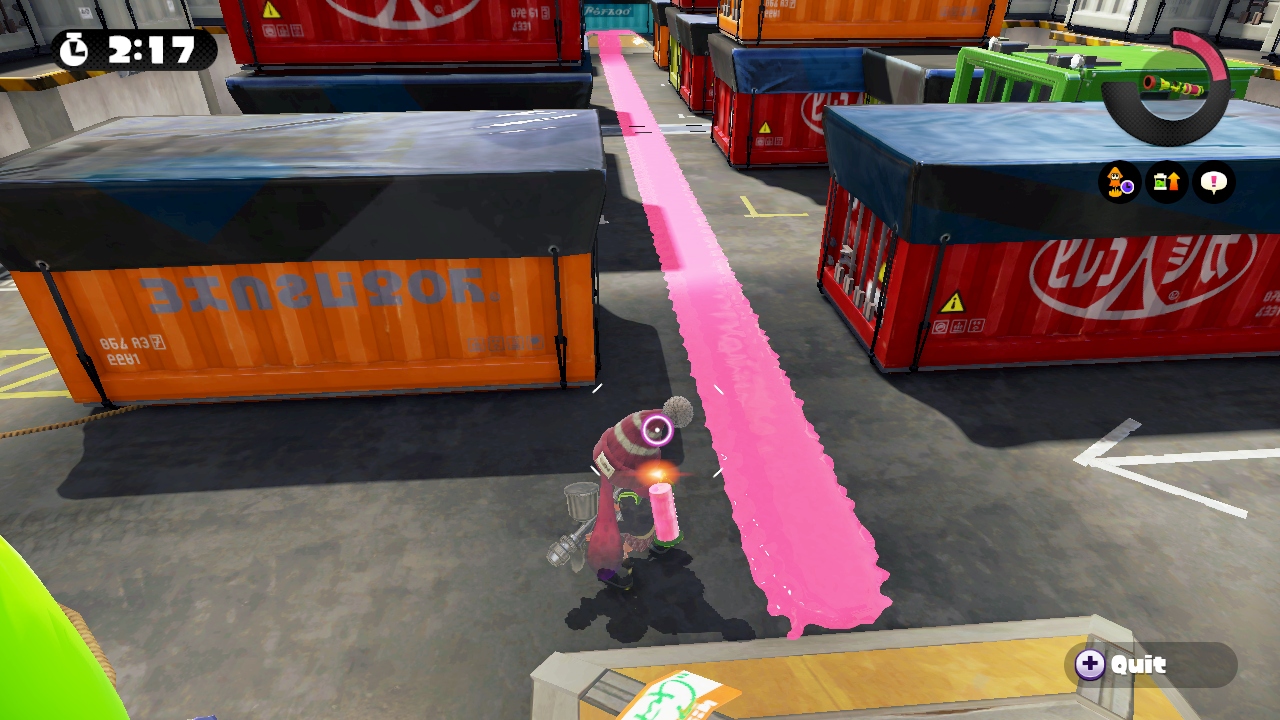
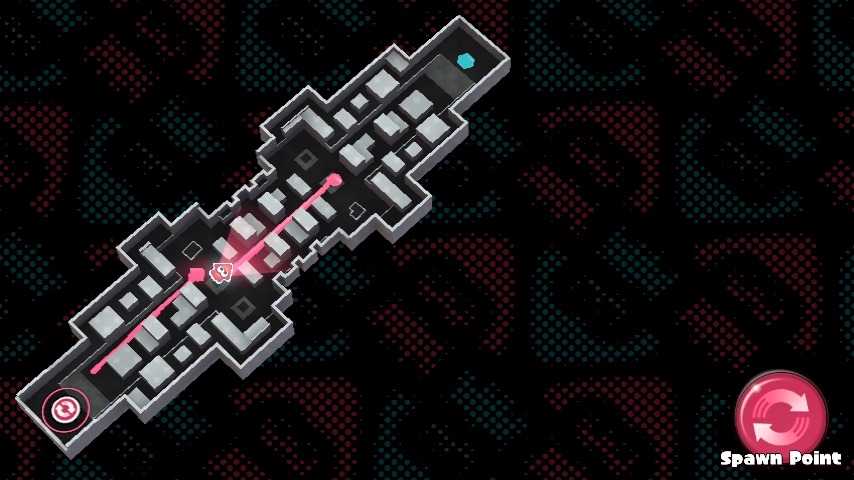
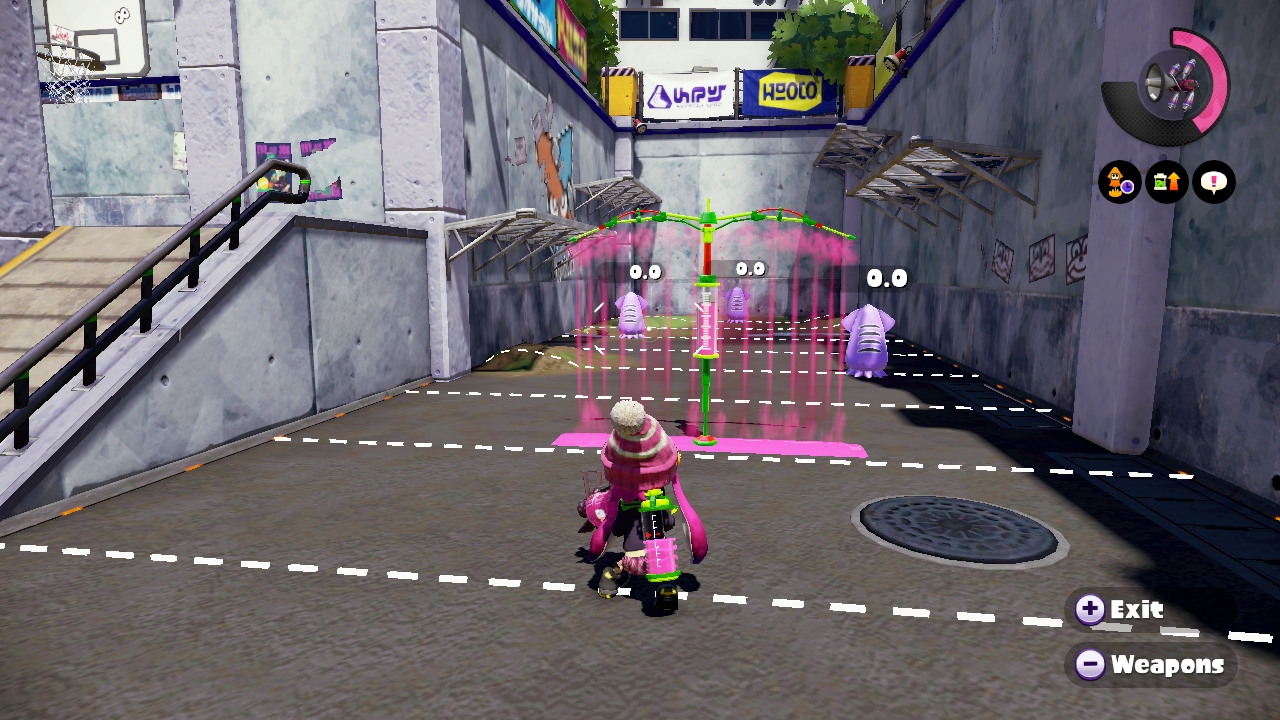
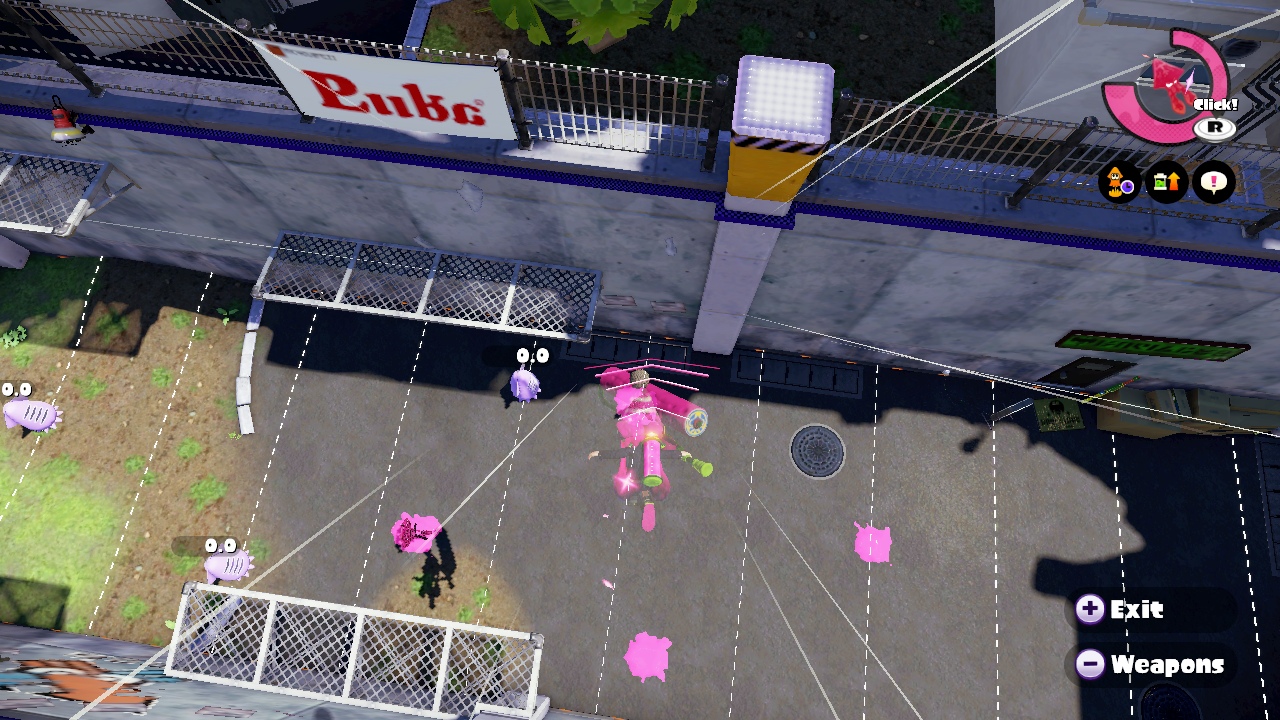
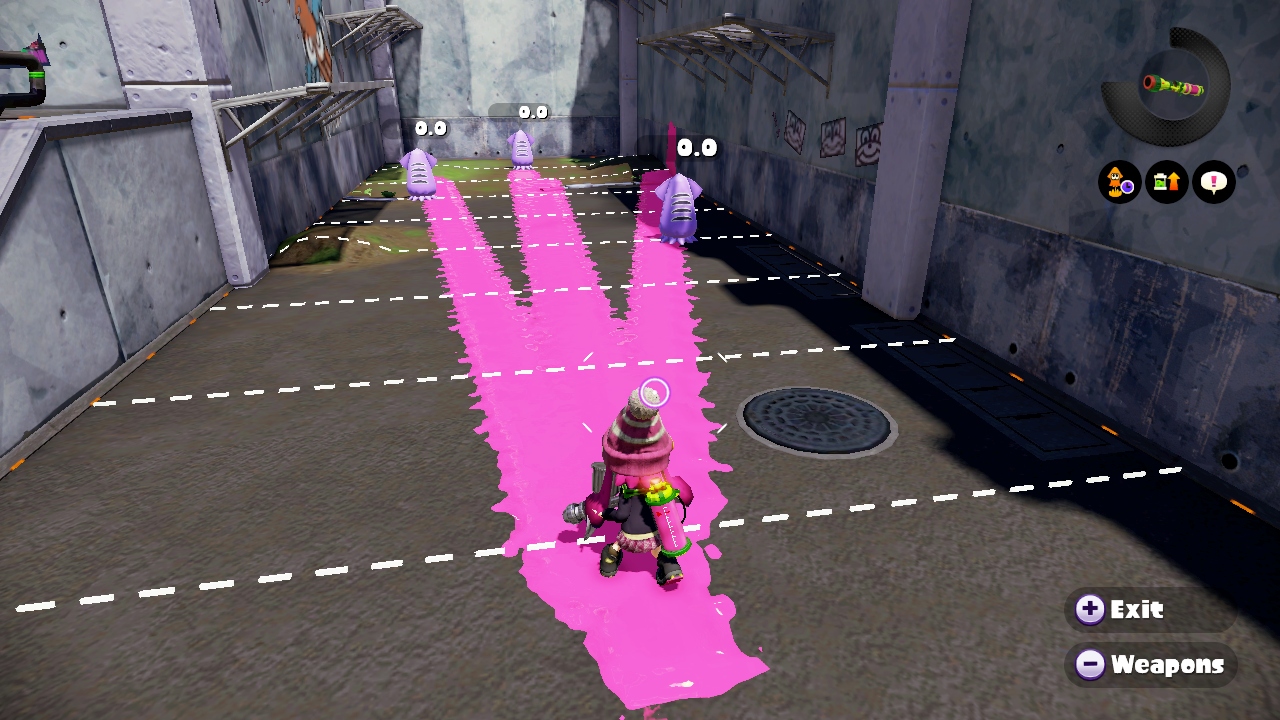
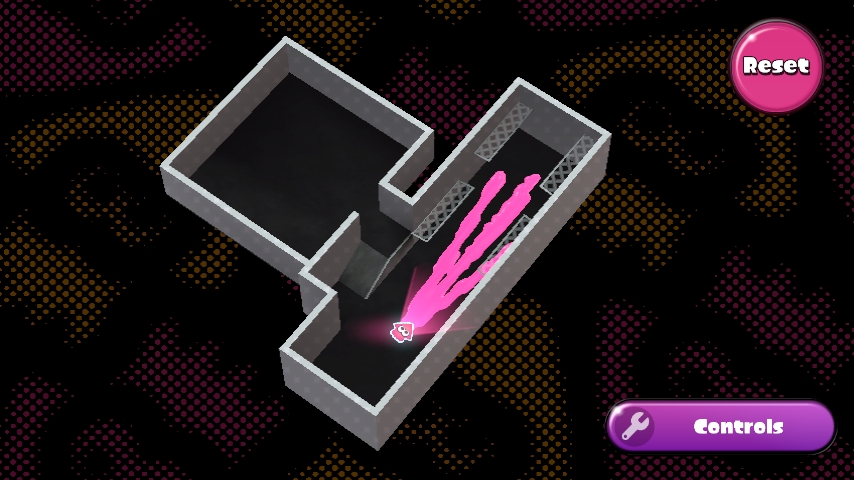
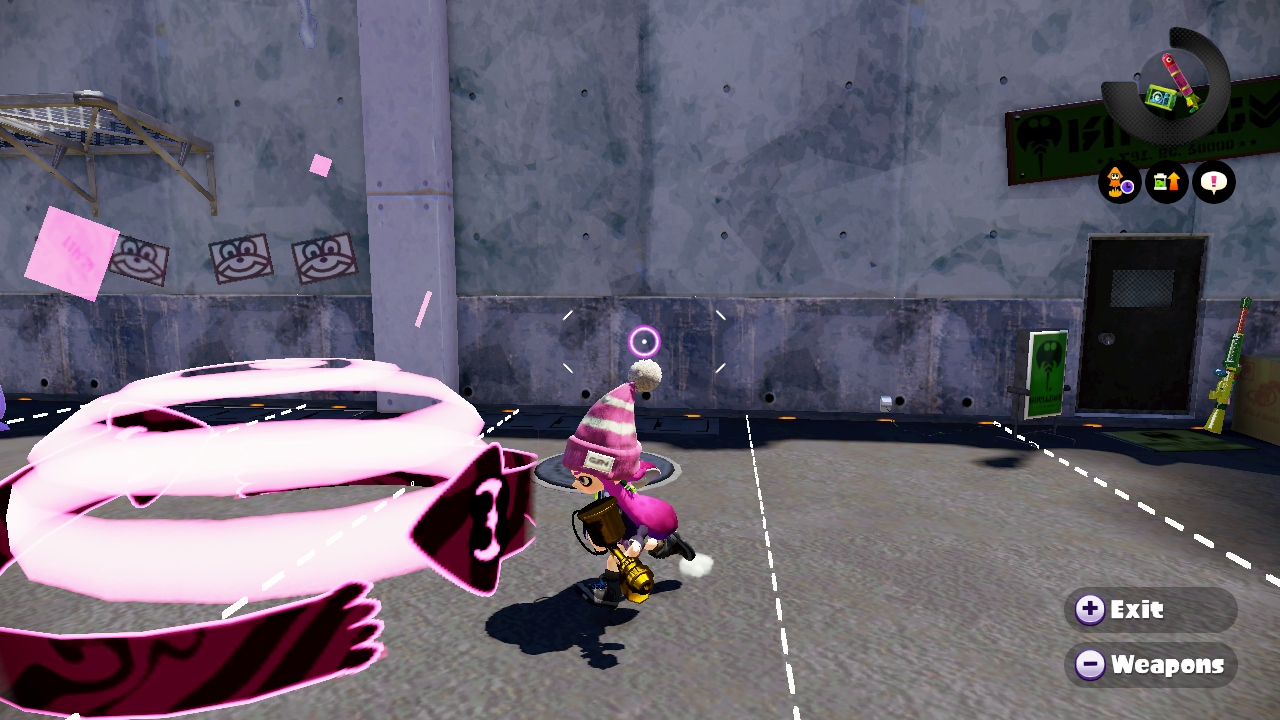
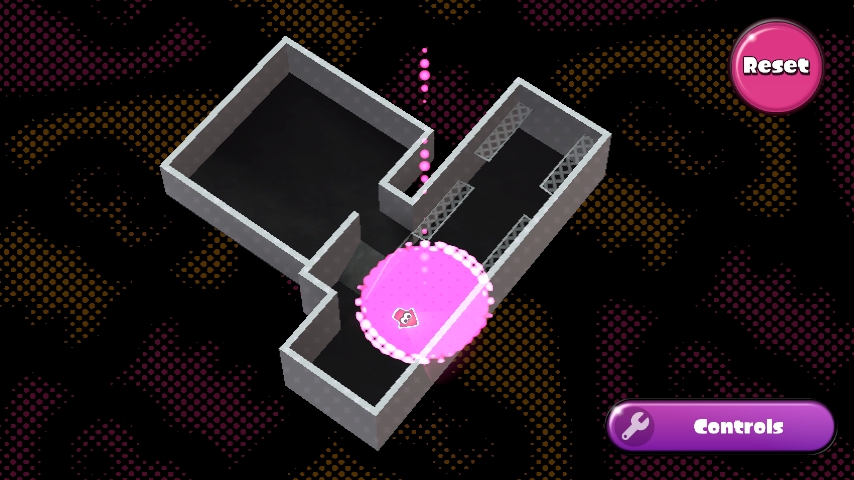
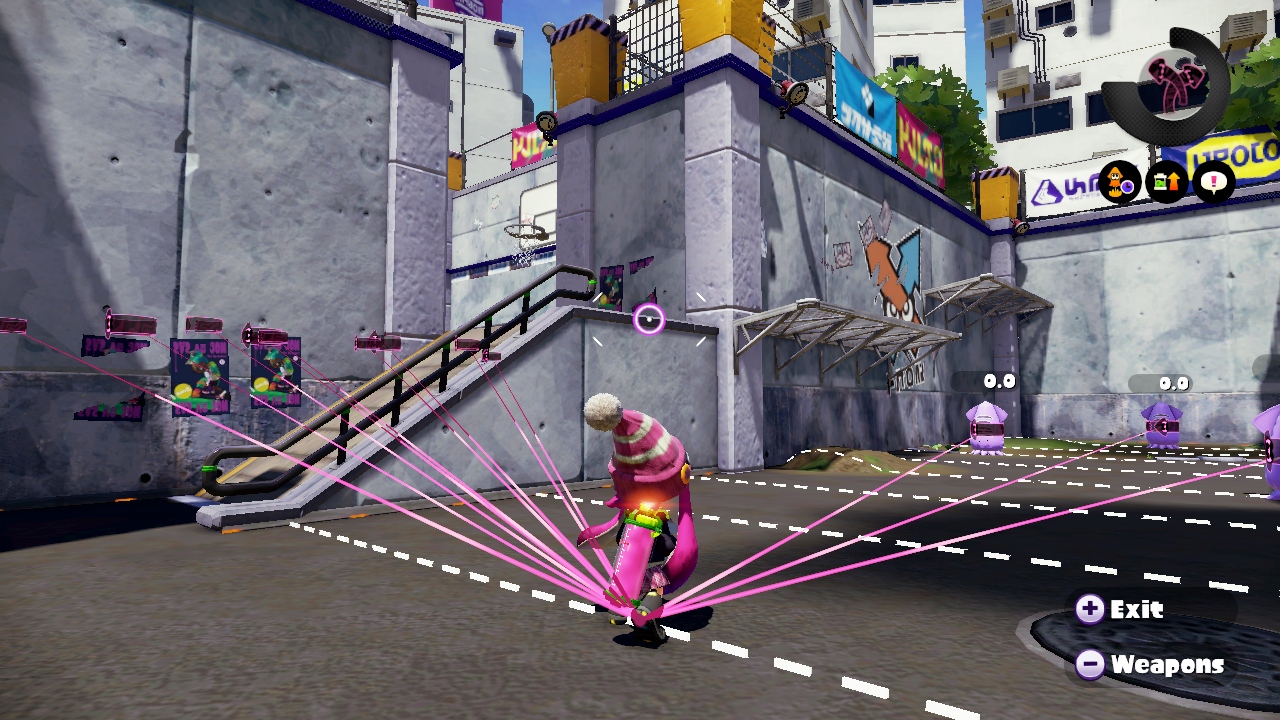
Seeker [SKR1]

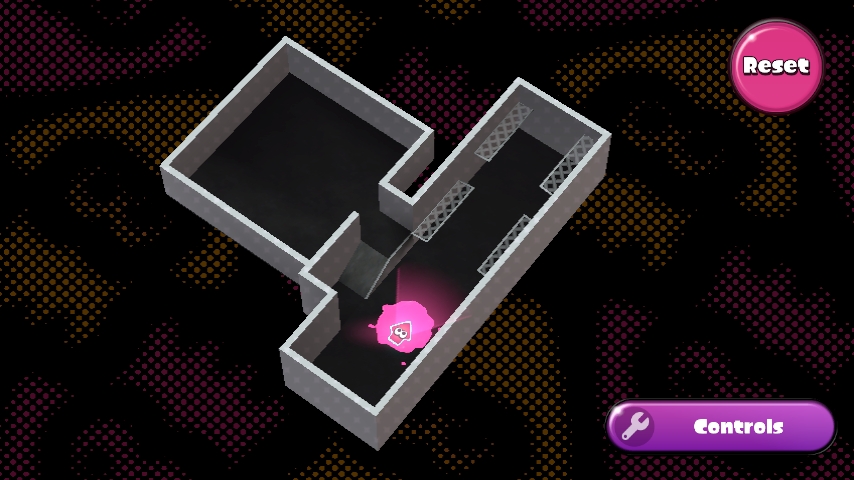
To show off the Seekers true range, I had to take it out of the firing range and into Port Mackerel!
Inkmine [IMN1]

Disruptor [DIS1]

Point Sensor [PSS1]

Sprinkler [SPR1]

Splash Wall [SWL1]

Squid Beakon [SBK1]


I like to refer to these as the Final Smashes of Splatoon. Each weapon gives a distinct advantage or power bonus to the player when used, and should be watched out for!
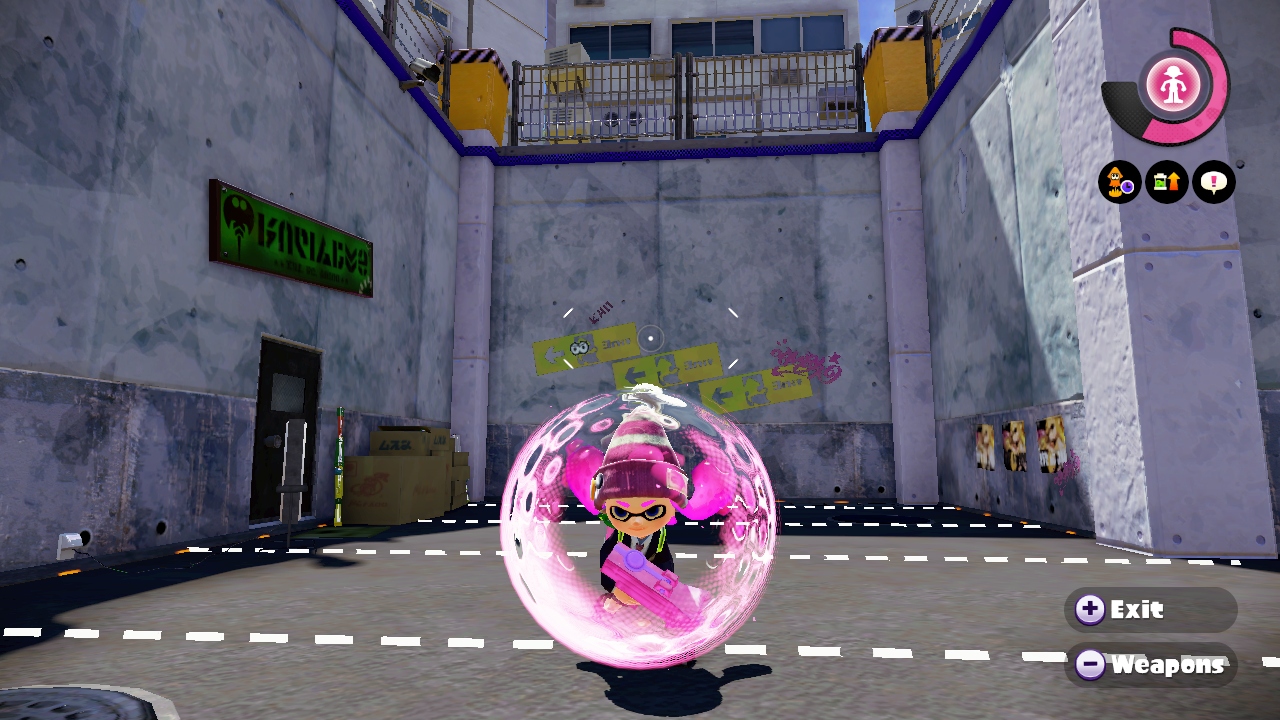
Bubbler [BBL1]

The Bubbler is the first Special Weapon any new Squid Kid will experience. It's on the default Splattershot Jr Loadout, and boy is it powerful! This little gem wraps you in a bubble shield, blocking ALL enemy attacks - even other Special Weapons - for a short time, the only drawback of this is you will feel extra pushback when taking damage, instead. This CAN push you off ledges if you're not too careful! This effect is passable onto nearby allies, making this a great pushing tool, or supporting tool to help an ally being swamped by enemies.
Inkzooka [IZK1]

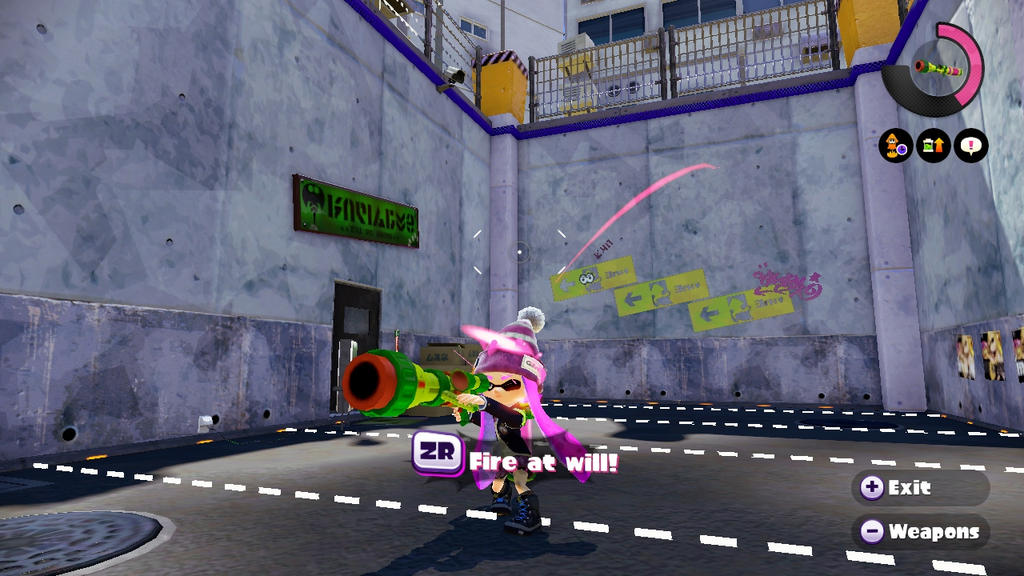
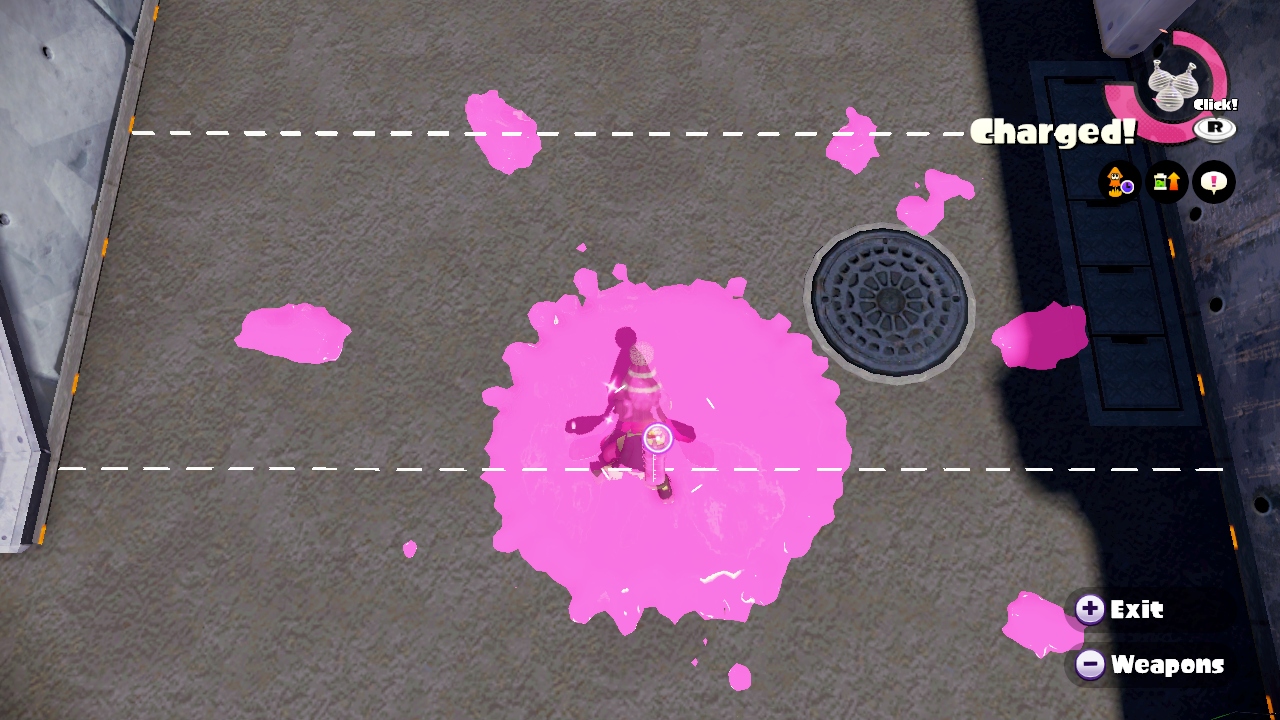
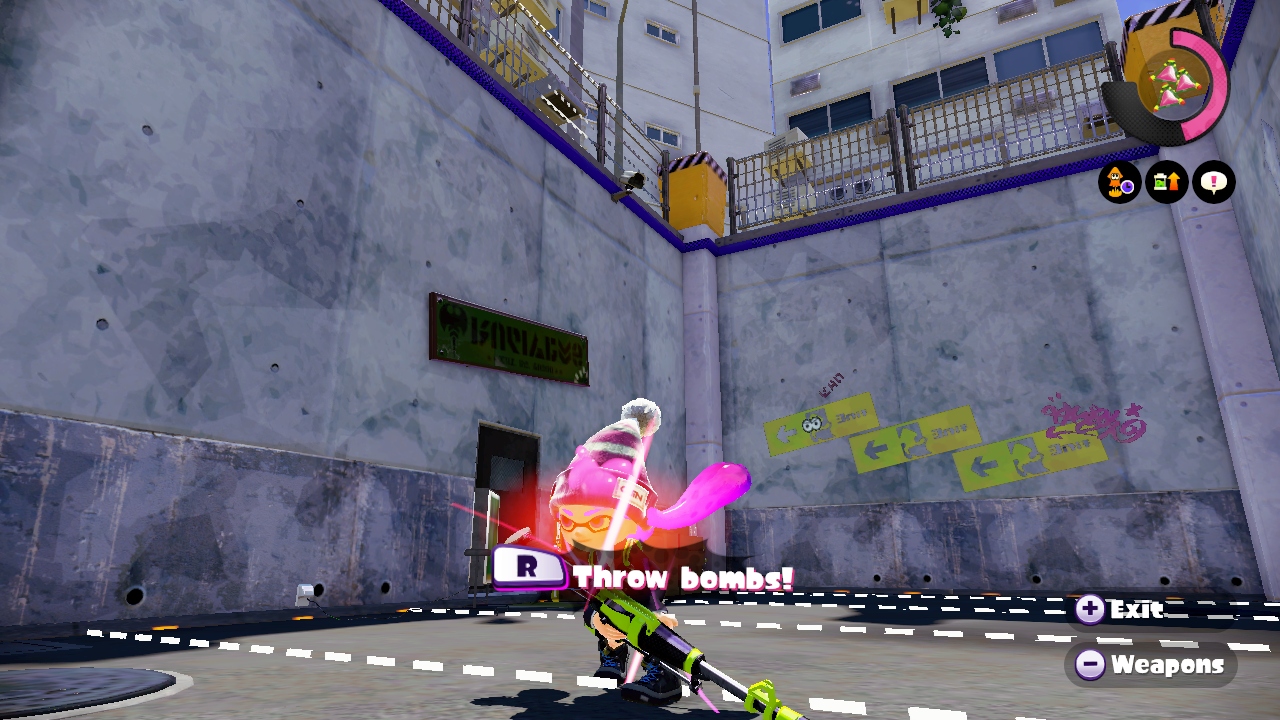
Bomb Rush [BMR1]
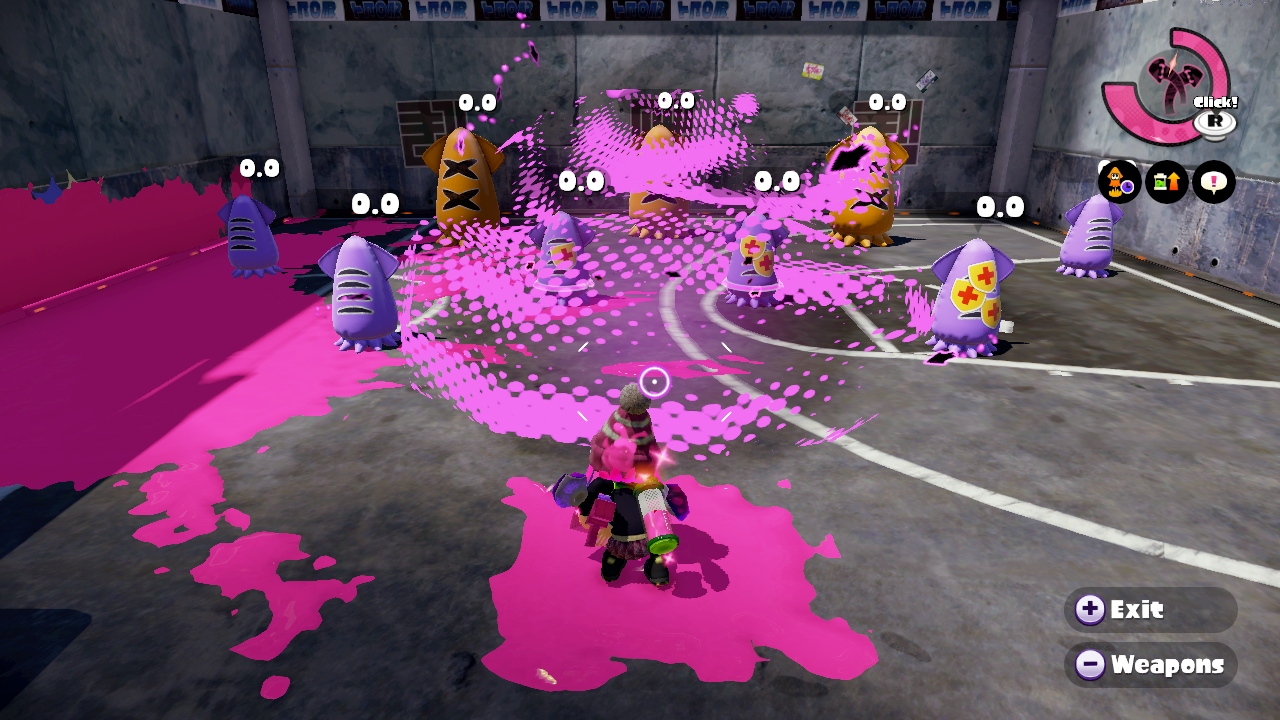
This ability temporarily causes your sub weapon to cost 0 ink! This Super is only available on weapon sets with "Bomb" subs (Splat, Burst, Suction). When you use it, your Inkling will glow, and you'll get a small notification telling you to "Throw Bombs!"
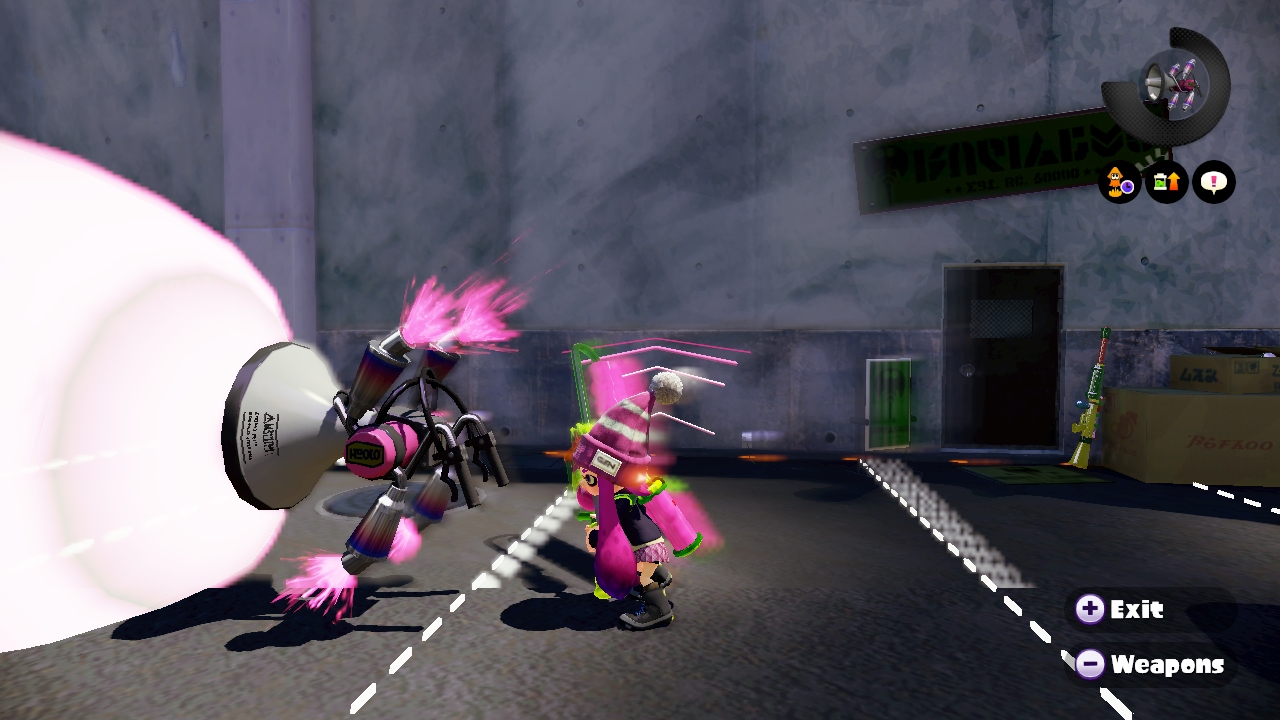
Killer Wail [KWL1]
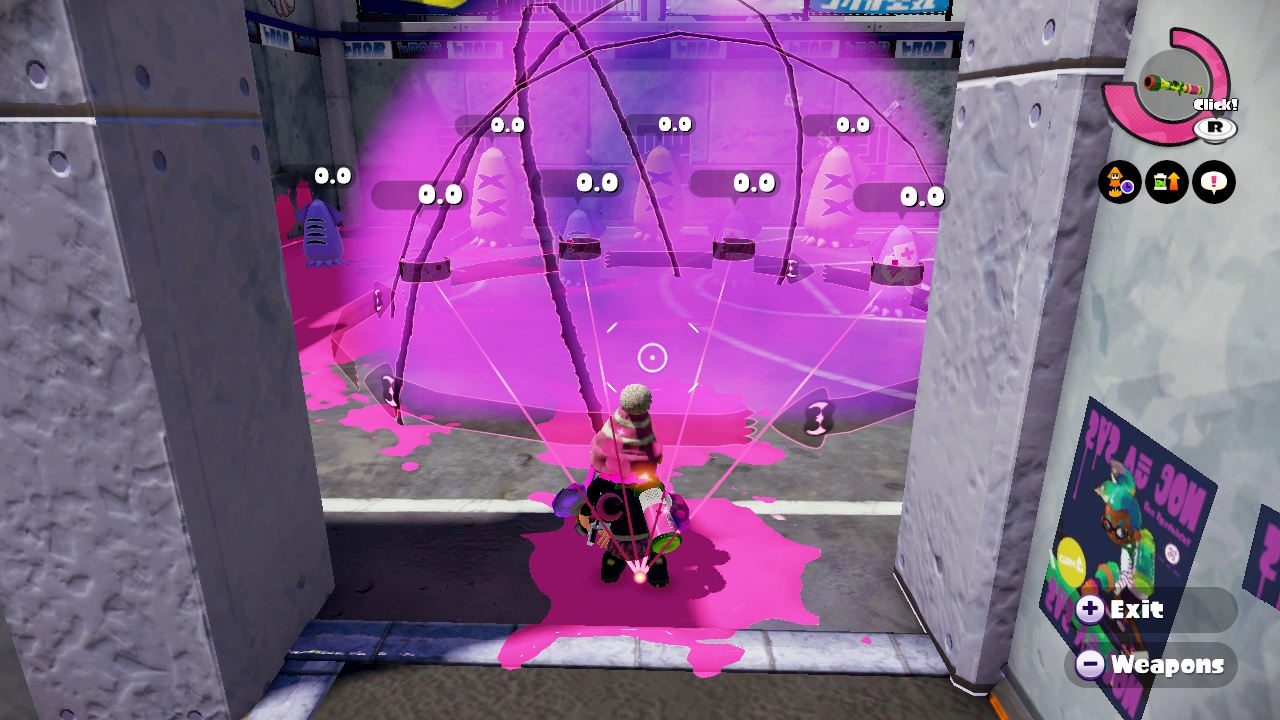
The most bad-*** soundin' Super Weapon. You pull out a giant speaker, sending a giant sound wave across the map, instantly splatting any Inkling who happens to be inside it's range.
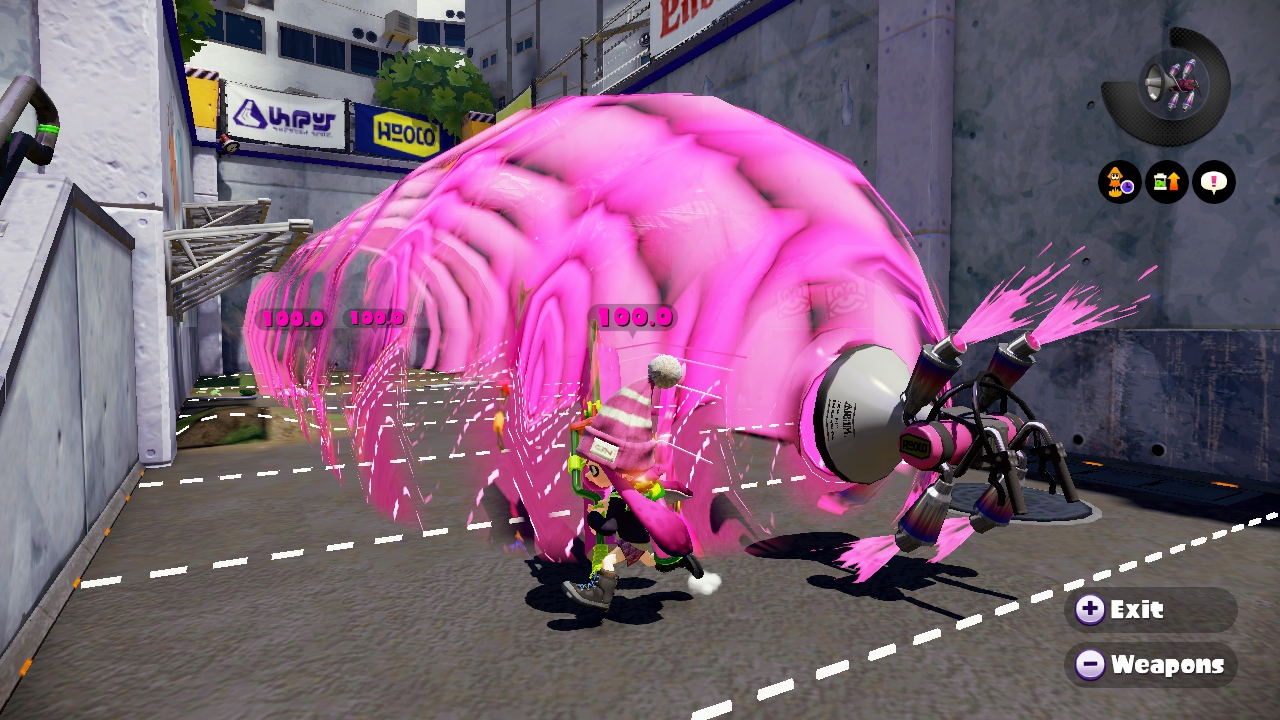
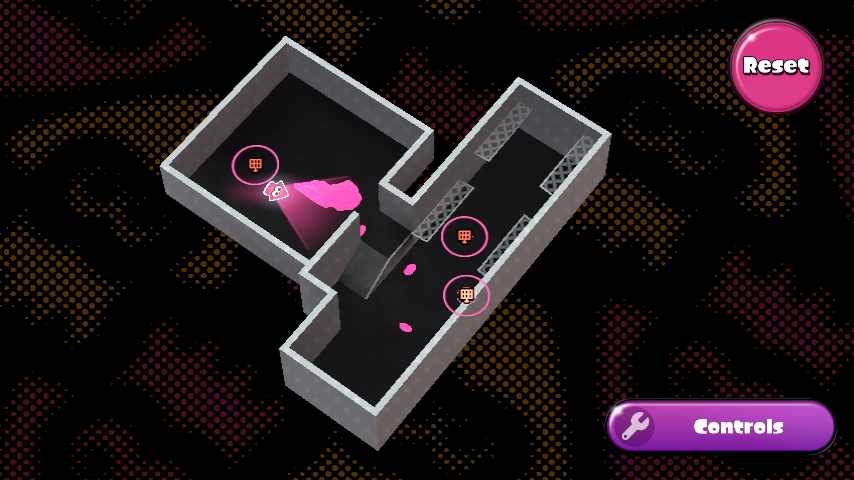
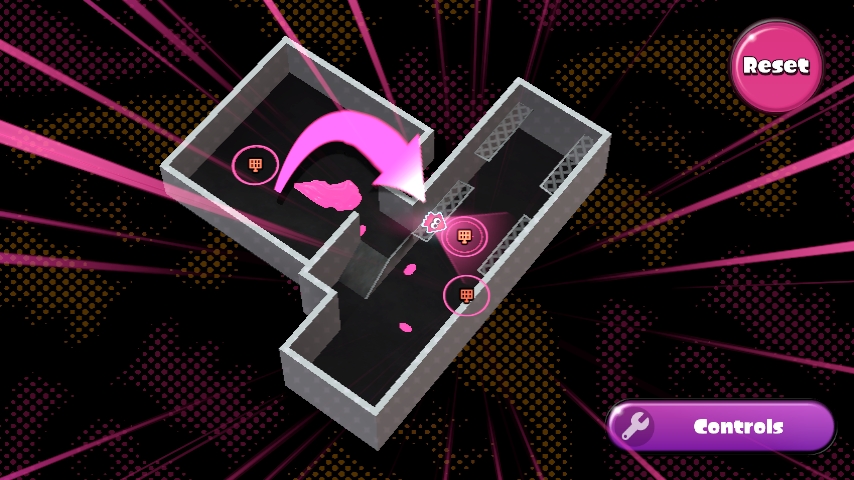
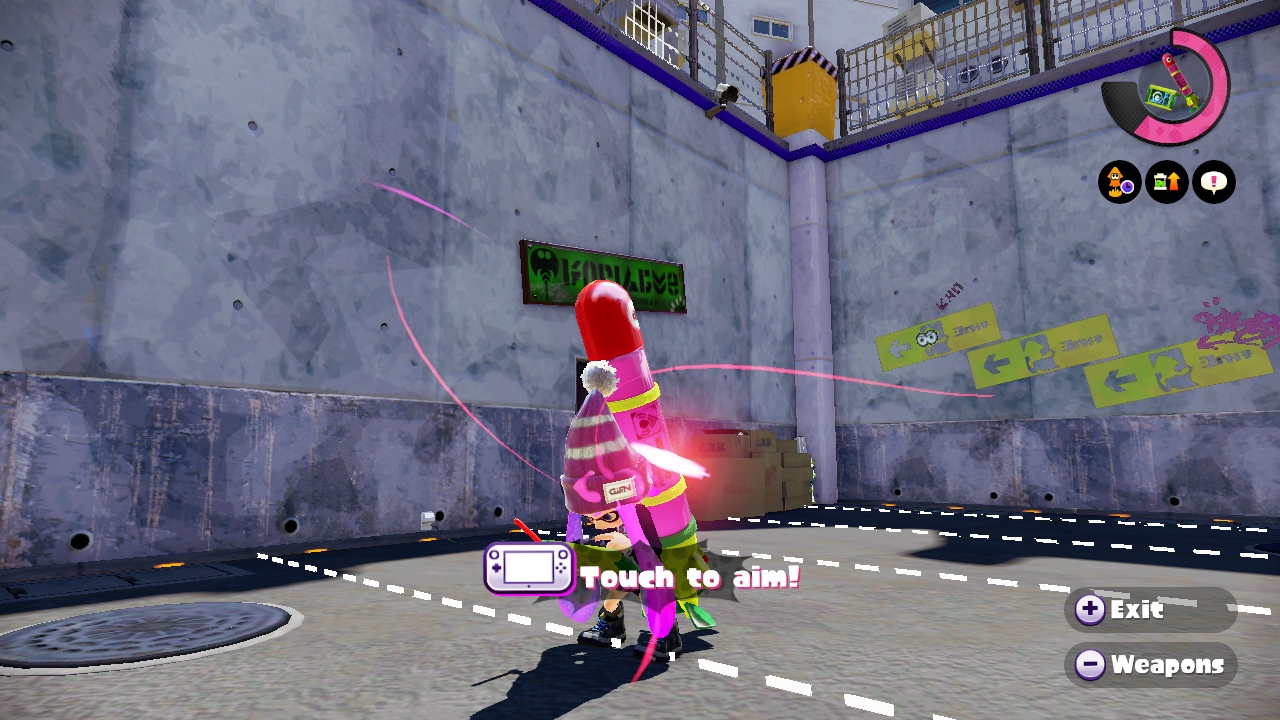
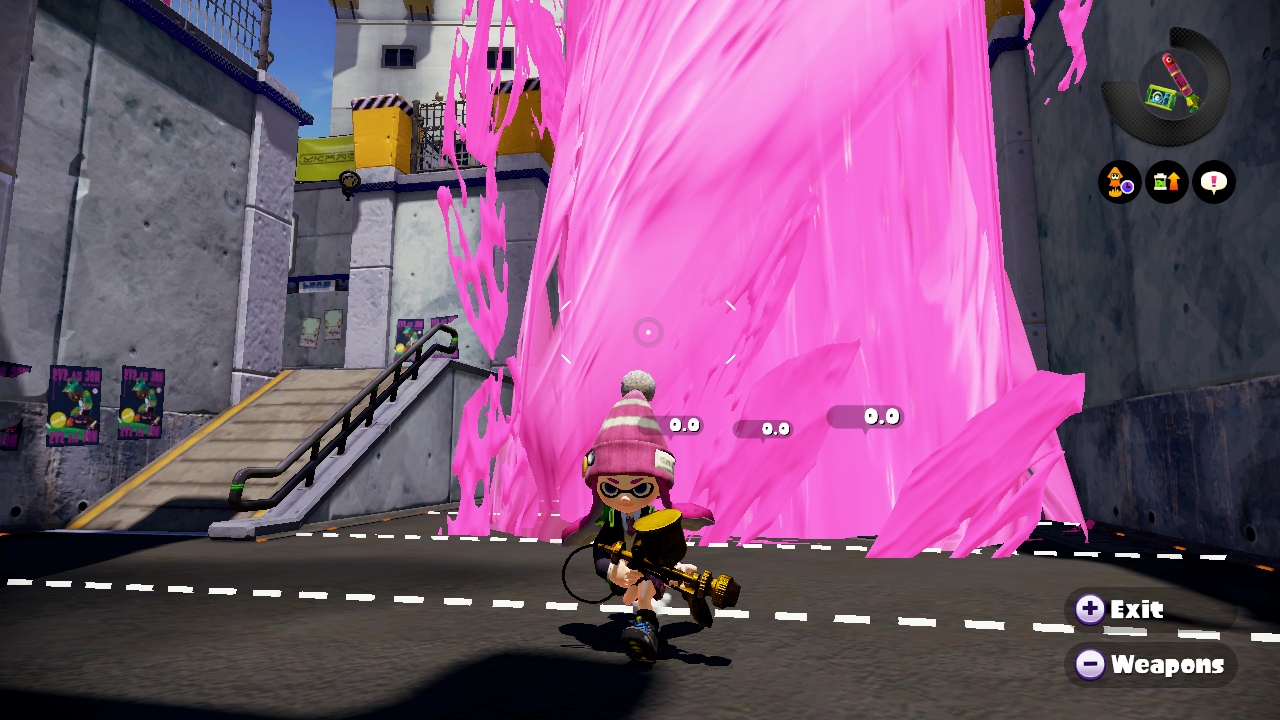
Inkstrike [ISK1]
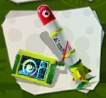
TACTICAL NUKE!!!
This weapon is very strong, you pull out a touch pad, and then on your IRL touch pad, touch on the Map where you'd like to strike, which sends the rocket on your back flying upwards towards it's target, before leaving a massive tornado of ink at the designated spot, splatting any unfortunate squiddo who happened to be in the Radius. It gives fair warning, atleast!
Echolocator [ECH1]
The Team Utility Special, an absolute beast of a weapon. It reveals all of the enemy team for a short time, and tracks them onscreen and on the Minimap. Knowing where your opponent is already a huge advantage, I shouldn't even need to explain it. To make things even better, it also gives this info to your Allies!
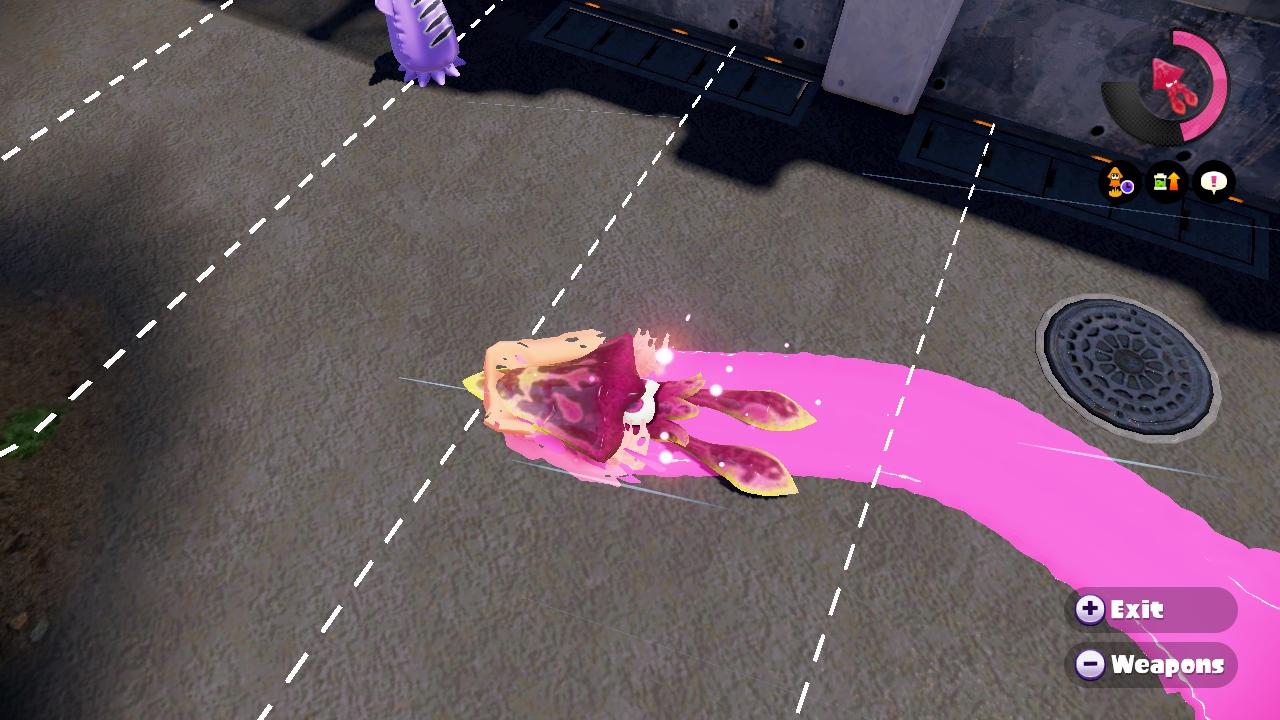
Kraken [KRA1]
This Special Weapon is extremely powerful and versatile. For a small duration (6~seconds), you transform into an invincible Kraken - a giant, dangerous lookin' squid form. You become invincible to enemy attacks, you move at swim speed, and you leave behind a trail of Ink. Your jump also becomes a Spin Attack, oneshotting any Inklings in your path of destruction. You can also swim through enemies ink, leaving a thin trail of your own! As with the Bubbler, you'll suffer increased knockback instead of damage as a Kraken.

Ending Notes [END1]
Thank you for reading the final part of this guide! I hope it has helped you in some way or another!Check out part 1 and 2 for regular weapons!
Click here to Super-jump to The Firing Range Part 1!
Click here to Super-jump to The Firing Range Part 2!
(Links will be added when the guides are made!)[/spoiler]