Have you ever played a game called Fire Emblem? Basically, it is a turn-based tactical RPG in which you move characters or units to kill other units. The core feature of the game is it's tactical aspect of the game. For example: Not moving one unit in the middle of three units, instead take another path and ambush them with more units. Now, you may be wondering "what does this have to do with Splatoon?"
NOTE: This is a guide meant for Ranked Battle players, but has some elements geared towards Turf Wars

Alleys are most likely used to get to a certain point of the stage, preferably a warzone.
Like this:
SHOOTER<CHARGER
CHARGER<ROLLER
ROLLER<SHOOTER
Now that you have SLOSHERS and SPLATLINGS
they don't exactly fit in the weapon triangle. Because they are practically hybrids of two weapons.
SLOSHERS=ROLLERS + SHOOTER
SPLATLING=CHARGER+SHOOTER
HIGH INKLING>LOW INKLING
Each weapon should be used in certain locations:
Shooters-Shooters are the all-around weapon. They can practically be at any position depending on the weapon:

Aerospray RG should be used on the ground due to the fact that they have limited range.
Chargers-Chargers are most optimal at high ground territory, however they are the most susceptible to flanks.

E-liter 3ks are most optimal at high places due to their long range.
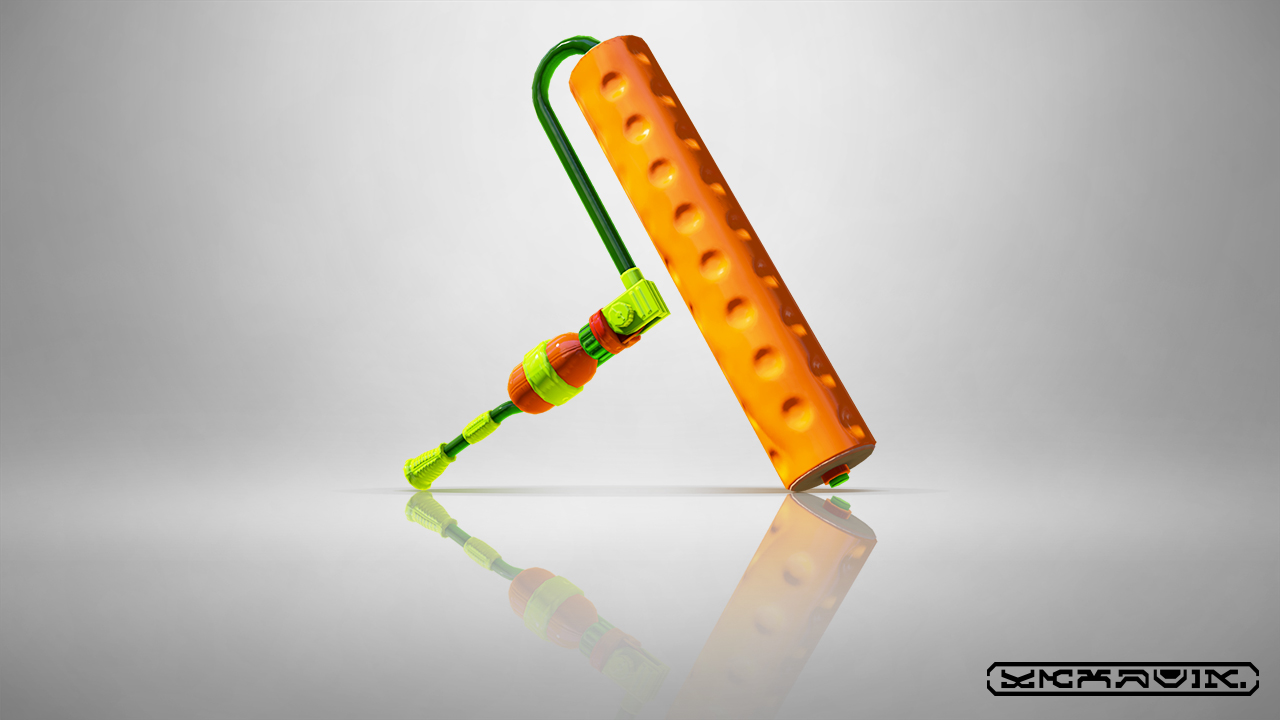
Rollers- Rollers are the close range combat weapons. They don't have a long range so they are mostly used on ground .

Splat Rollers are designed for close range combat. Use them on the ground or fling ink to KO
Splatling-Splatling guns are more optimal at long range combat. Due to its long range it can also be used as a makeshift charger. Use them on high terrain or middle terrain.

The Heavy Splatling is optimal at taking out opponents fast at long ranges fast.
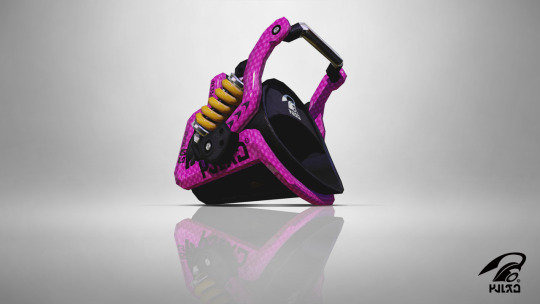
Sloshers- Sloshers are very good at taking out opponents that are up high, behind cover, and even below you! Use them pretty much anywhere.

Sloshers can splat enemies below you, and they can splat inklings behind cover.


Tactics in Splatoon
Splatoon may not be based on killing each other in gruesome ways but, Splatoon has a technical side of things. Each map has its own way of doing things differently, with Urchin Underpass being the go-to stage for basic design. Each map also has it's own specific points that are CRUCIAL to winning a match.
NOTE: This is a guide meant for Ranked Battle players, but has some elements geared towards Turf Wars
Base, War Zone, and Alleys
Let's start off this guide by identifying what are the sections of the stages.
Base
Let's start off this guide by identifying what are the sections of the stages.
Base
You may be familiar with the type of players in Turf Wars who always shout out "COVER YOUR BASE FIRST SCRUBS!" Those players are right about covering your base first, as it gives you a tactical advantage both in Regular and Ranked Battles. Before I "dive" into the advantage, we need to know what counts as "Base" and what doesn't. Here is a picture of Port Mackarel:

Your "Base" is anything before where it says R1, L1, and C1.
Your Base is always near spawn and is always the first area before the War Zone (Except Port Mackerel, where your base IS the War Zone).
Tactical Advantage: Covering your base with ink provides you with more mobility, and limits enemy movement until they cover the area which should give you enough time to react.
War Zone
This the "Main Point" of the map, where everything MESSY happens. This is the most critical area you want your team to control. The War Zone is where most players gather and where the splat bath happens. Most players rush to this specific area during the first few seconds of a match, to capture it. The Warzone(s) is usually located in the middle or in big open area with lots of cover. Here is a map of Walleye Warehouse:The Warzone is the middle of the map in Walleye. Keep in mind that some maps have multiple War zones, such as Saltspray Rig where it has two open areas. Also, warzones can also be shared by teams such as with Blackbelly Skatepark.
Alleys
Alleys are self-explanatory, they are the small corridors of a stage. They are the safest place on the map as you can only get flanked from the back, but are the most likely place where close combat can happen. Moray Towers has the most alleys making it the most combat centered stage.Alleys are most likely used to get to a certain point of the stage, preferably a warzone.
TACTICS For Weapons
All weapons have their own preferable match ups, and bad match ups. They are all summed up in the weapon triangle.Like this:
SHOOTER<CHARGER
CHARGER<ROLLER
ROLLER<SHOOTER
Now that you have SLOSHERS and SPLATLINGS
they don't exactly fit in the weapon triangle. Because they are practically hybrids of two weapons.
SLOSHERS=ROLLERS + SHOOTER
SPLATLING=CHARGER+SHOOTER
TACTICS For Weapons
Positioning is not that crucial in Splatoon. However, it can have more tactical advantage for example: HIGH INKLING>LOW INKLING
Each weapon should be used in certain locations:
Shooters-Shooters are the all-around weapon. They can practically be at any position depending on the weapon:

Aerospray RG should be used on the ground due to the fact that they have limited range.
Chargers-Chargers are most optimal at high ground territory, however they are the most susceptible to flanks.

E-liter 3ks are most optimal at high places due to their long range.
Rollers- Rollers are the close range combat weapons. They don't have a long range so they are mostly used on ground .

Splat Rollers are designed for close range combat. Use them on the ground or fling ink to KO
Splatling-Splatling guns are more optimal at long range combat. Due to its long range it can also be used as a makeshift charger. Use them on high terrain or middle terrain.
The Heavy Splatling is optimal at taking out opponents fast at long ranges fast.
Sloshers- Sloshers are very good at taking out opponents that are up high, behind cover, and even below you! Use them pretty much anywhere.

Sloshers can splat enemies below you, and they can splat inklings behind cover.
FINAL TIPS
- When alone, try to identify potential flank points where an enemy can splat you
- Use certain weapons for makeshift weapons, to gain a certain attribute of that specific category. EX: Dual or Jet Squelcher instead of chargers for better fire rate and no charge time
- Use the recon mode to seek out possible strategies
- Haunt and Recon can allow you to plan your strategies
- Use the kill cam to seek out an enemies possible area
- Use the sub and special weapons to your advantage. EX: INKSTRIKE + RECON= allowing you to plan
